
Need a Plumber in Yorba Linda? We’re Available Today.
Upfront pricing. No surprises. Over 1,000 five-star reviews.
Expert Faucet Installation and Repair in Yorba Linda, California — Your Guide to Quality Plumbing Solutions
If you own a home in Yorba Linda—whether it’s a custom estate in Travis Ranch, a hillside property in the Hidden Hills area, or a well-appointed residence in East Lake Village—you know that quality plumbing is essential to maintaining your property’s value and your family’s comfort. Faucet problems might seem minor at first, but a leaking kitchen faucet or a malfunctioning bathroom fixture can quickly escalate into water waste, higher utility bills, and potential water damage.
This comprehensive guide covers everything you need to know about faucet installation and repair in Yorba Linda, from understanding why hard water affects your fixtures to when to call a licensed professional. With 15 years of experience serving Yorba Linda and the broader Inland Empire and Orange County region, Magic Snake Pro has helped over 1,000 satisfied customers maintain their plumbing systems with expert service and transparent pricing.
Understanding Yorba Linda’s Unique Plumbing Challenges
Yorba Linda is home to some of Orange County’s most impressive residential properties—upscale single-family homes and custom estates built primarily between the 1970s and 1990s. These homes often feature multiple bathrooms, high-end fixtures, complex irrigation systems, and larger hot water demands than average. However, the area’s natural environment presents specific plumbing challenges that homeowners should understand.
Hard Water and Fixture Damage
One of the most significant issues affecting Yorba Linda homeowners is hard water. The local water supply contains 200–250 parts per million (ppm) of dissolved minerals, primarily calcium and magnesium. For context, water above 120 ppm is considered “hard,” so Yorba Linda’s supply is on the higher end of the hardness scale.
Hard water doesn’t pose health risks, but it wreaks havoc on plumbing fixtures and appliances. Over time, mineral deposits build up inside faucets, reducing water flow and creating unsightly white or brown staining on chrome, stainless steel, and other finishes. For homeowners with high-end fixtures in neighborhoods like Vista Del Verde and Lakeview, this mineral buildup can corrode internal valve components, leading to premature failure and costly repairs.
Hillside Soil Movement and Sewer Line Stress
Yorba Linda’s eastern neighborhoods, particularly those with hillside and elevated lots, sit on a mix of clay and decomposed granite soil that is prone to seasonal movement. This soil shifting can stress buried water lines and sewer lines, potentially causing misalignments, cracks, or separations. If you live in a higher elevation property in areas like Hidden Hills or certain sections of Travis Ranch, your outdoor water lines and irrigation systems are at greater risk of damage from soil movement.
Aging Water Heaters in Larger Homes
Many of Yorba Linda’s upscale homes from the 1970s–1990s have water heaters that are now 10–30 years old. Larger homes with multiple bathrooms, guest houses, or high irrigation demands place enormous strain on aging water heaters. Hard water accelerates sediment buildup inside tanks, reducing efficiency and lifespan. When water heater failure occurs, it often cascades into faucet and fixture problems as homeowners scramble to replace or repair their systems.
Common Faucet Problems in Yorba Linda Homes
Persistent Dripping and Leaks
A single faucet dripping once per second can waste over 3,000 gallons of water per year—costing you money and affecting the environment. In Yorba Linda, where water conservation is increasingly important and water rates continue to climb, a leaking faucet is not just an inconvenience; it’s a financial drain. Common causes include worn washers, damaged valve seats, and corroded internal components.
Low Water Pressure
If your kitchen faucet or bathroom sink suddenly produces weak water flow, the culprit is often mineral buildup in the aerator (the screen at the faucet’s tip) or inside the valve. In Yorba Linda’s hard water environment, this happens regularly. Some homeowners also experience pressure loss if they have older galvanized steel pipes that have corroded internally over decades.
Discolored Water and Staining
Rust-colored or cloudy water coming from your faucets suggests corrosion inside the line or fixture. White, crusty deposits around faucet openings are mineral scale. Both are common in Yorba Linda and, while usually not dangerous, indicate that your plumbing system needs attention.
Spout and Handle Damage
High-end pull-down kitchen faucets and wall-mounted bathroom fixtures can fail internally even if they look fine externally. Cartridges, seals, and sprayer mechanisms wear out, leading to unexpected leaks inside cabinets or walls. Given the quality-conscious nature of Yorba Linda homeowners, upgrading to a new, more efficient fixture often makes sense rather than attempting repeated repairs.
Water Supply Shutoff Valve Problems
The shutoff valves beneath your sinks and toilets are critical safety components. In older Yorba Linda homes, these valves may be stuck, corroded, or non-functional. If you’ve never tested yours, now is the time—and if it doesn’t work, a licensed plumber should replace it immediately.
When to DIY and When to Call a Professional
Simple Maintenance You Can Handle
Some faucet maintenance tasks are safe and effective for homeowners with basic tools and patience:
- Cleaning a clogged aerator: Unscrew the screen at the faucet tip, rinse it under hot water, and soak it in white vinegar for 2–4 hours to dissolve mineral deposits. Rinse thoroughly and reinstall.
- Tightening loose connections: If your faucet wobbles, use an adjustable wrench to gently tighten the nuts beneath the sink. Don’t over-tighten, as this can strip threads or crack porcelain.
- Replacing faucet washers: For compression faucets (older two-handle styles), you can often replace the rubber washer inside the valve. Turn off water, disassemble the handle, and swap the worn washer for a new one of the same size.
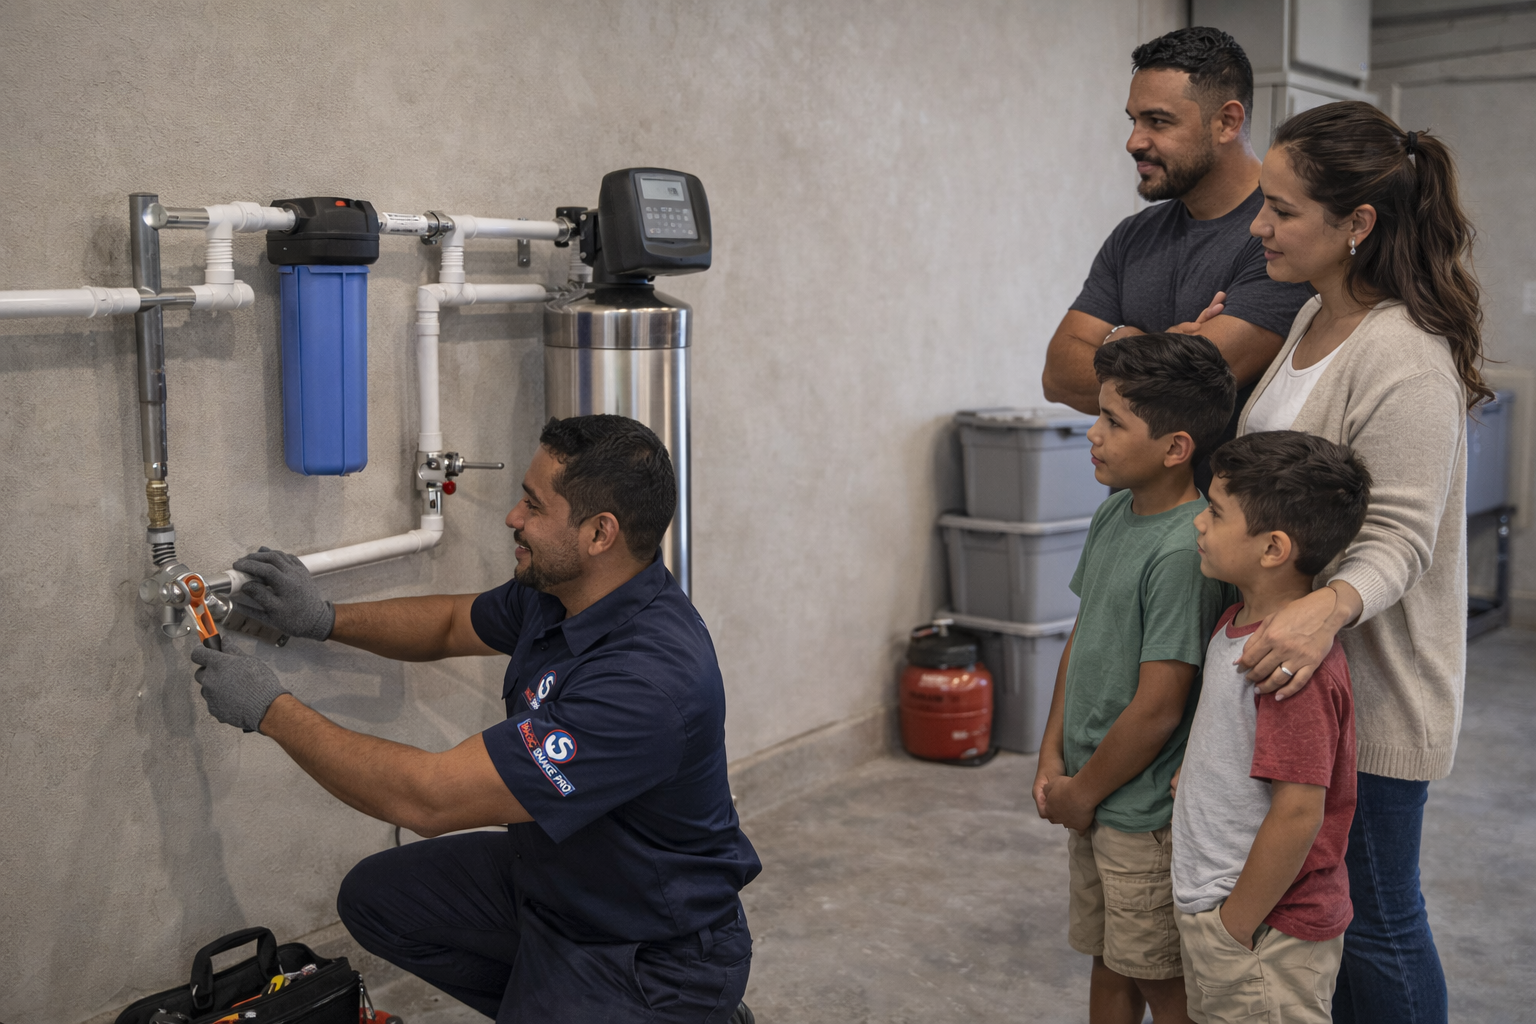
- Installing a whole-house water filter: If hard water is a concern, a point-of-use filter under the sink or a whole-house softener system can help. Some homeowners in Yorba Linda install these themselves, though professional installation ensures proper integration with your existing plumbing.
When You Need a Licensed Professional
Call a professional plumber immediately if you encounter any of the following:
- Water leaking inside walls or cabinets: Hidden water damage can lead to mold, structural rot, and expensive remediation. Don’t wait.
- No water from one or more fixtures: This may indicate a broken supply line or a problem with your main shutoff.
- Faucets that won’t stop dripping after simple repairs: This usually means the valve seat is damaged or the cartridge has failed, requiring professional replacement.
- Discolored, foul-smelling, or cloudy water: While sometimes temporary, persistent water quality issues need investigation by a licensed plumber who can test water and check for contamination sources.
- New faucet installation: Proper installation includes ensuring correct water line connections, testing for leaks, and securing fixtures firmly. Professional installation also means your new faucet is covered by warranty.
- Replacing old shutoff valves: These are under pressure and require a skilled hand to avoid damaging supply lines.
- Complex repairs on high-end fixtures: Luxury kitchen faucets and designer bathroom fixtures often have proprietary cartridges and parts. Professional service ensures you get authentic replacements and proper installation.
Step-by-Step Guide: Cleaning a Clogged Faucet Aerator (DIY)
If your Yorba Linda home suffers from reduced water pressure due to mineral buildup, try this simple DIY fix:
- Turn off the water supply: Locate the shutoff valves beneath your sink and turn them clockwise until tight. (If they don’t work, call a plumber before proceeding.)
- Open the faucet: Turn on the faucet to release any remaining water pressure in the line.
- Locate the aerator: The aerator is the threaded piece at the very tip of the faucet spout. It’s usually small (about ½ inch) and may have a manufacturer’s logo or be stamped with a flow rate.
- Unscrew the aerator: Use an adjustable wrench or pliers wrapped in a soft cloth (to avoid scratching) to gently unscrew the aerator counterclockwise. Some aerators unscrew by hand.
- Inspect the components: The aerator typically has a screen, a rubber washer, and metal or plastic inserts. Lay these out in order so you can reassemble them correctly.
- Clean each piece: Soak all components in white vinegar for 2–4 hours. Use an old toothbrush to gently scrub away mineral deposits. Rinse thoroughly under warm running water.
- Reassemble: Put the pieces back together in the same order, starting with the innermost component and working outward.
- Reinstall on the faucet: Screw the aerator back onto the faucet spout by hand first, then gently tighten with your wrench. Don’t over-tighten.
- Turn water back on: Slowly turn the shutoff valves counterclockwise to restore water flow. Check for leaks around the aerator base.
- Test the flow: Open the faucet fully. You should see improved water pressure and clearer water.
Safety Reminder: If at any point you feel pressure building or water sprays unexpectedly, stop and call a licensed plumber. Do not force stuck components—they can break and create bigger problems.
Step-by-Step Guide: Replacing a Faucet Handle Washer (DIY—Compression Faucets Only)
If you have an older, two-handle compression faucet that drips from the spout, a worn washer may be the culprit. This repair works only on compression-style faucets, not single-handle or cartridge faucets.
- Turn off water: Locate and close the shutoff valves beneath the sink.
- Open the faucet: Turn on the faucet to release pressure.
- Remove the handle: Look for a small screw or set screw on or beneath the handle. Use an appropriately sized screwdriver to remove it, then pull the handle straight off.
- Remove the packing nut: Beneath the handle is usually a large hexagonal nut (the packing nut). Use an adjustable wrench to turn it counterclockwise and remove it.
- Extract the stem: Gently pull the valve stem straight out. It should slide out easily; don’t force it.
- Locate and remove the washer: At the bottom
Ready to Get This Handled?
Same-day and next-day appointments available. Licensed & insured.
Comments are closed